Can you guys believe that I transformed our powder room with my own two hands (with a little help from the husband), but really mostly by myself?! No? I can’t, either. I’ve never been a handy person and have basically never used a power tool in my whole life. Seriously, my husband had to show me how to work a drill. But I did it. Do you know what that means? If my clumsy ass can do it, so can you!
Oh, and just as a warning. This project turned into a giant cluster at times, so I’m probably going to cuss in this post. Also, I’ve never felt the urge to use gifs in any of my posts before. But they just feel needed this time. Good luck.

(PS, I apologize in advance for not having not taken enough pictures of all the steps. I’m still getting the hang of documenting everything!)
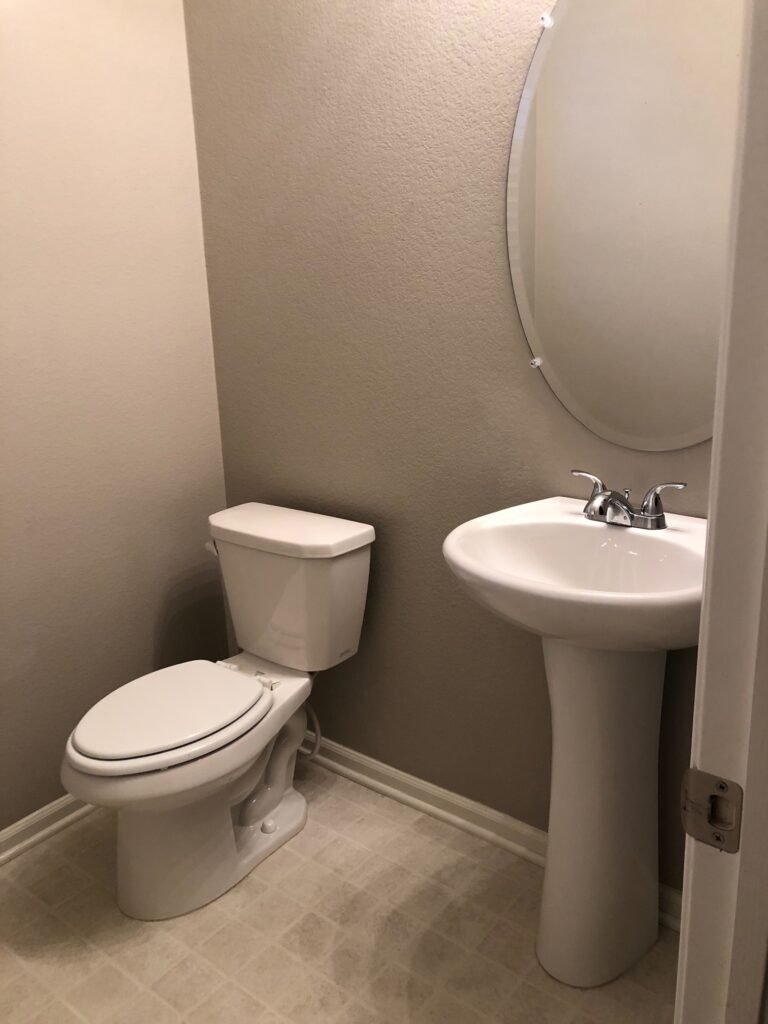
So, here is where we started. A very, very basic powder room straight from the builder. Plain linoleum flooring, light gray walls that are throughout our entire house, pedestal sink, and of course, the toilet. That’s it.
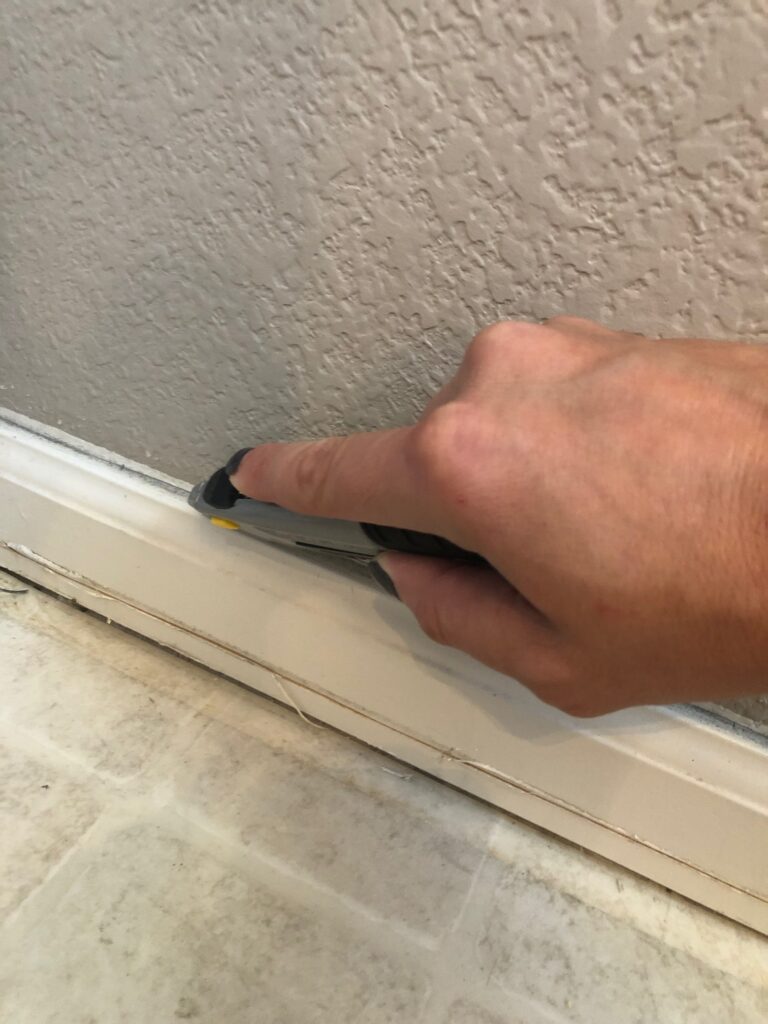
First thing I did was remove the baseboards. If you’ve never done this before it’s incredibly easy – so don’t be afraid of it. Take a utility blade like this one:
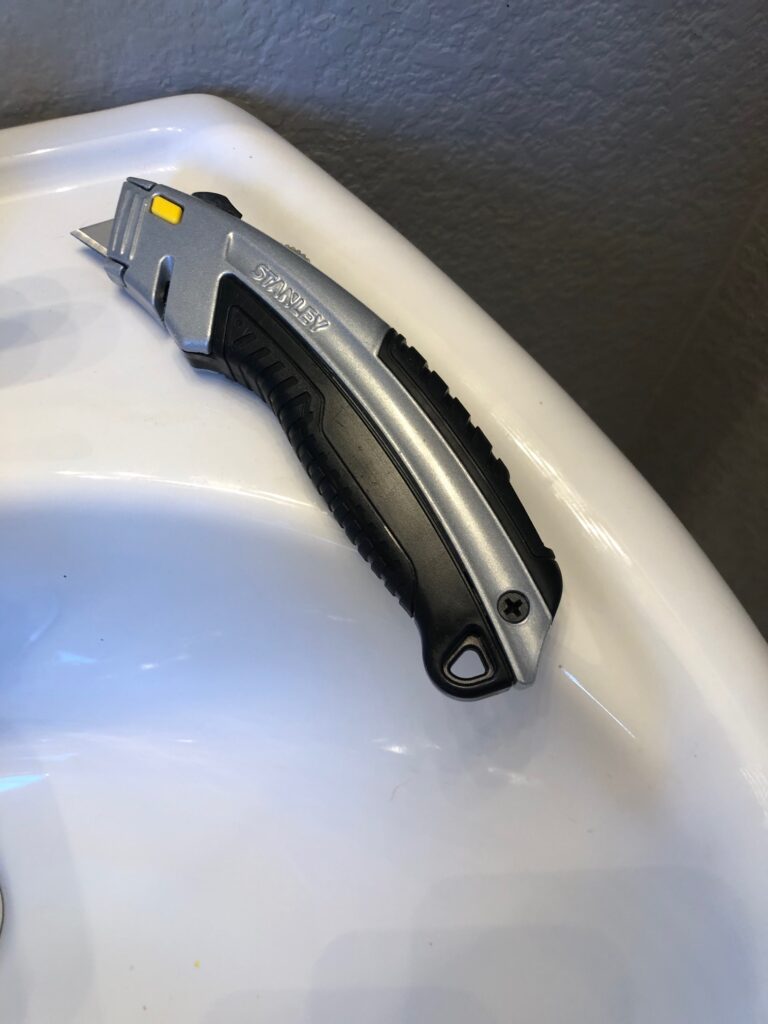
Slice the caulking along the top between the wall and baseboard.
Then, shimmy (is that a technical term?) a 5-way (ha!!) in the little gap between the wall and baseboard and hammer it in.
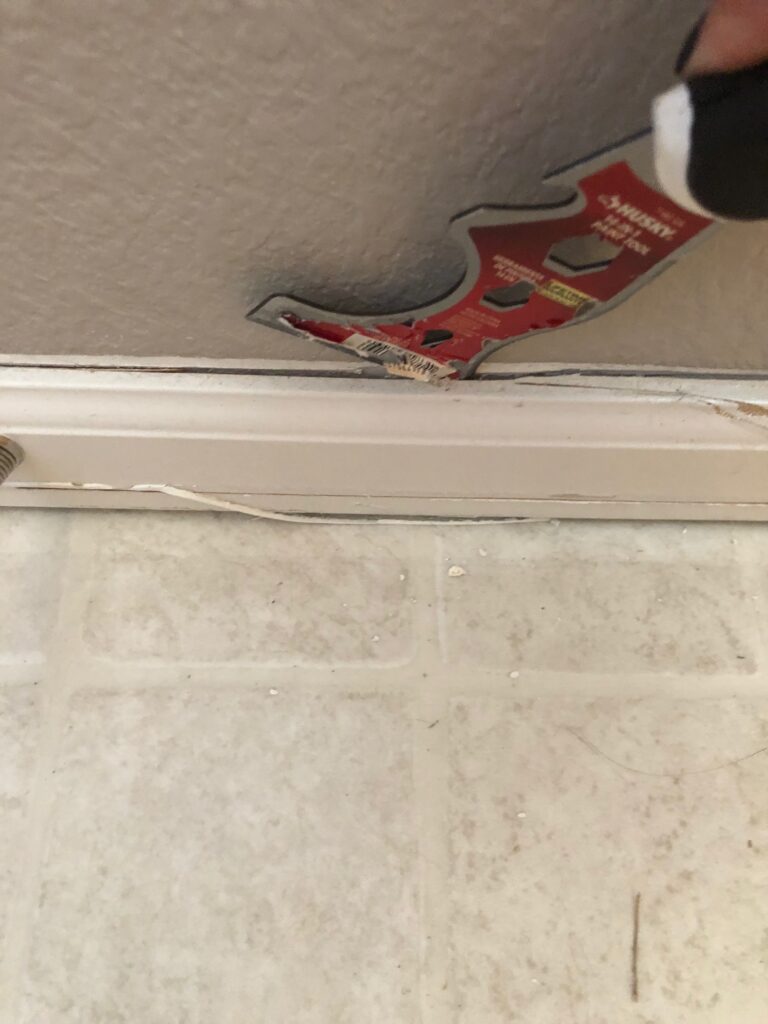
You should be able to start prying the baseboard away from the wall. If the 5-way (snicker) isn’t cutting it, you can also use a crow bar. Just remember to go about it gently as to not damage the drywall.
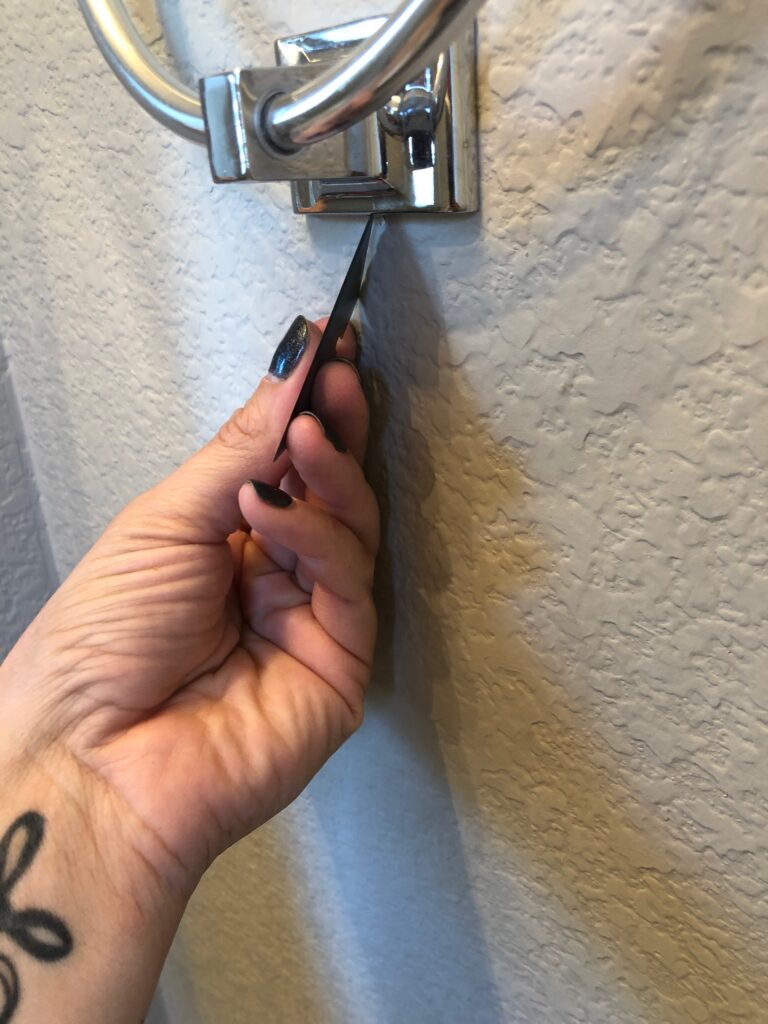
The next thing I did was remove the toilet roll holder and the towel ring. Those are pretty simple. They have tiny screws on the bottom that you have to unscrew. Most people probably know that already but I literally had no idea how to take them off. If you don’t have a flathead screwdriver that’s small enough, the blade of your utility knife will work just fine.
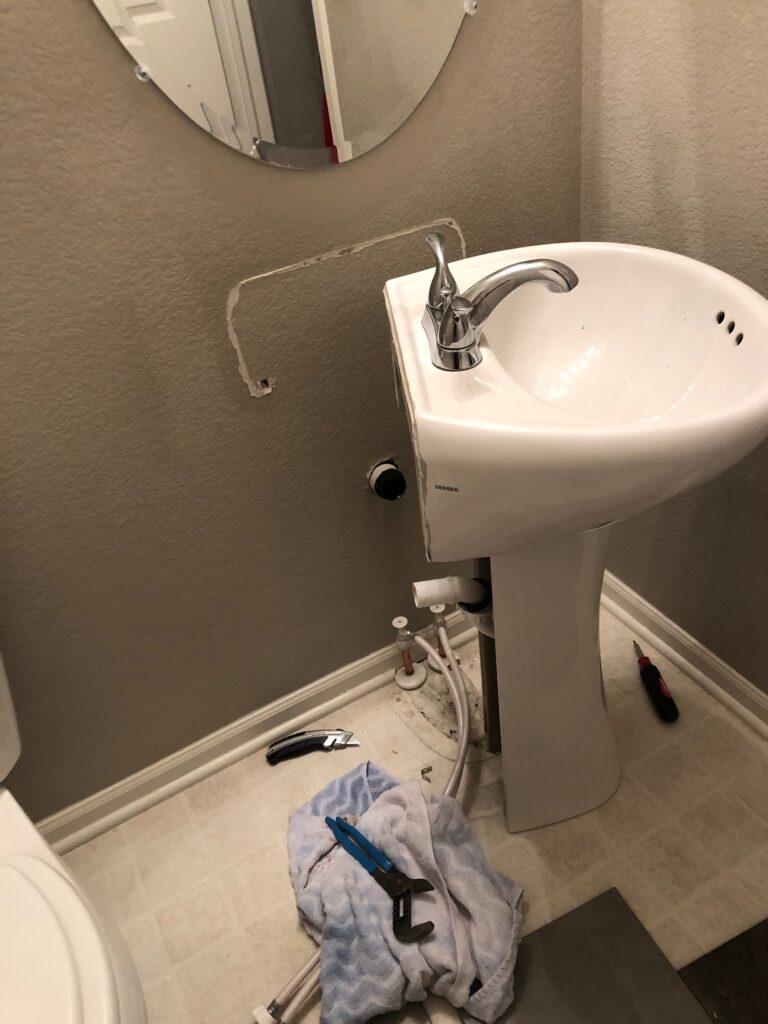
After that, much to my husband’s dismay, I removed the pedestal sink. It’s actually super easy. Use your utility knife to slice the caulking around the sink and wall. Then, get down on the floor and check underneath/behind to see if there are any bolts holding the sink to the wall (there should be!). Our sink was “bolted” to the wall but the builder left the bolts completely loose…so…who the frick knows. But anyway, mine pulled away from the wall easily. Then, place a bucket on the floor and unhook the hoses for the hot and cold water from the sink, if there’s any water in the hoses, you can let them drain out into the bucket.
I didn’t get any pics of removing the toilet, doh! But, also, very easy! I actually watched this helpful video from Home Depot before I did it:
Basically, you just need to find the shut off to the toilet and turn off the water. Keep flushing until the tank is empty. Use sponges to remove the remaining water from the tank. If needed, use a plunger to force the rest of the water from the toilet bowl. There should be two bolts holding the tank to the bottom part of the toilet. Remove them. Remove the tank. Then, find the two bolts holding the rest of the toilet to the floor. Remove those, too. Boom. Mic drop.

Next, I removed the mirror on the wall. Again, didn’t get pics of me doing this (son of a…), but it’s pretty simple. All you’ll need is a phillips head screwdriver and some packing tape. First, tape the crap out of it, basically try to cover the whole mirror in tape. The thought behind this being that if the glass breaks, you won’t accidentally murder yourself. Remove all the screws around the mirror that’s holding it to the wall. Okay, here’s where it got a little weird. The mirror is SUPPOSED to be glued to the wall. However, it was not and it and almost instantly begin sliding off the wall. So, watch out for that.

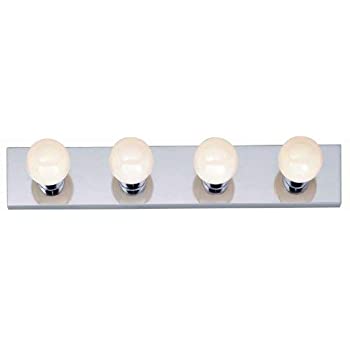
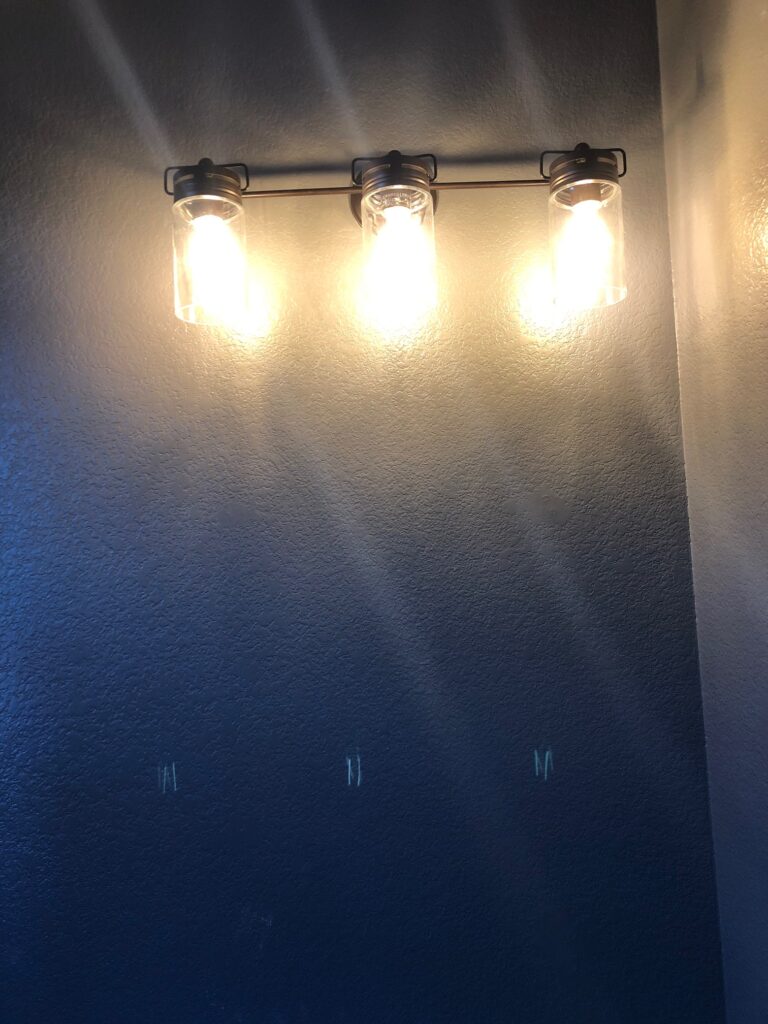
The next thing was the ugly ass light above the sink. I didn’t get a good shot of the old light that the builders had installed, but it looks just like this:
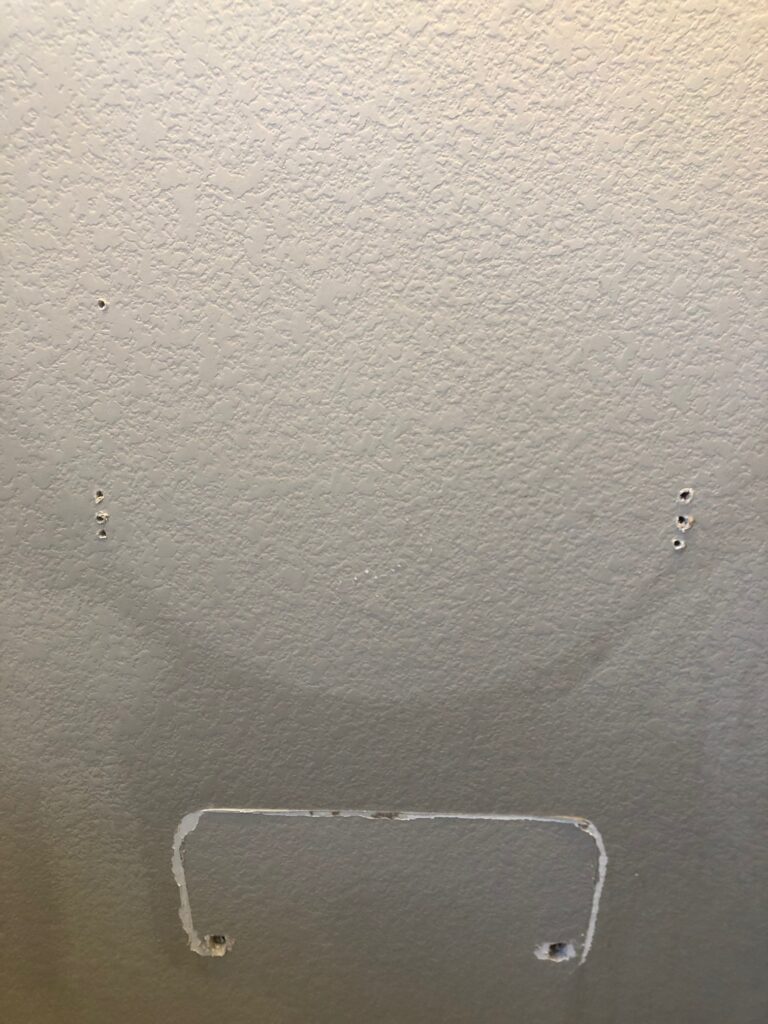
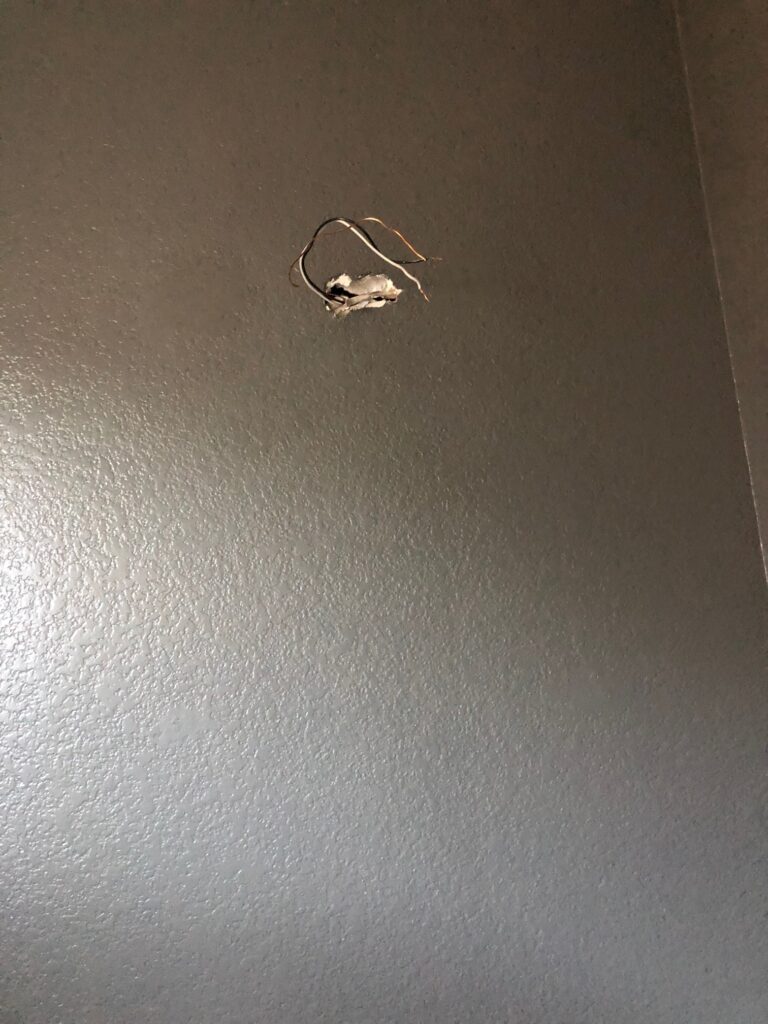
So, when the builders installed our light they used a bunch of screws to just hold it to the wall. After I removed the light from the wall I made the discovery that they had not installed a wall box. See below:
Seriously. The hell. So I had to install a wall box. They’re those cheap little blue boxes in the electrical department at the home improvement stores. Make sure you check the instructions of the new light you’re installing to make sure you have the right type of wall box. The light I bought required a round wall box. But guess what. GUESS WHAT. There was a pipe and a mother loving 2×4 on either side of where the wall box should go. So the round one didn’t freaking fit. So I had to get the little square shaped one.
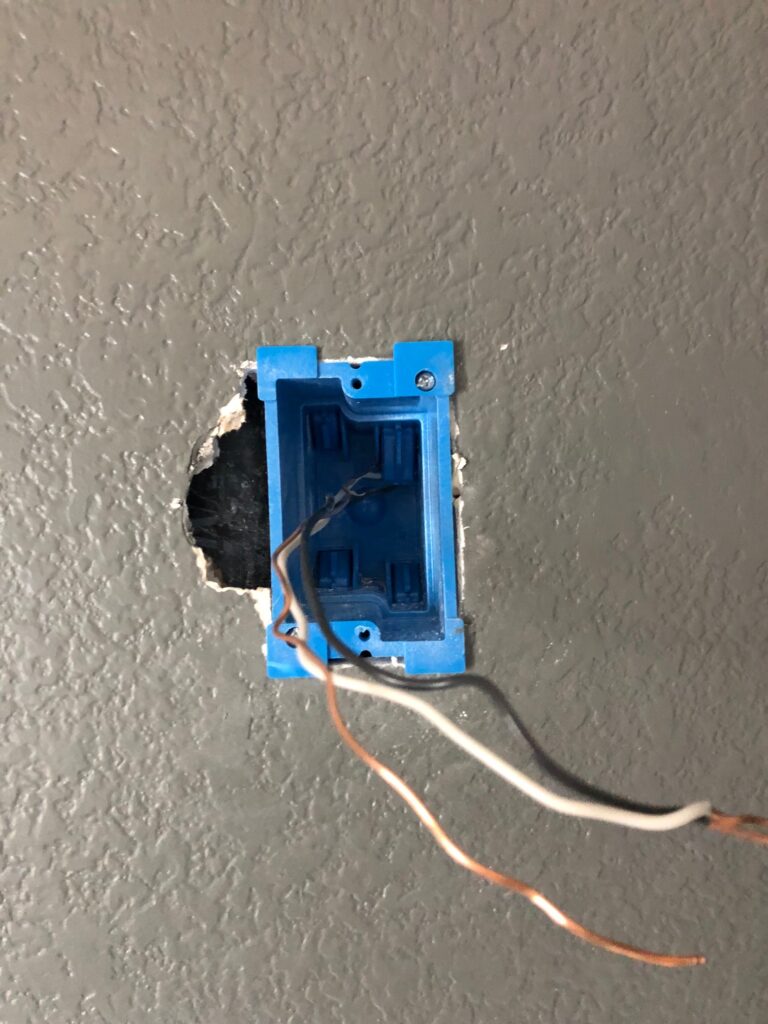
Honestly, this part was kind of a nightmare because I had no clue what the hell I was doing. So, as you can see, the hole that the builder made for the light they installed was actually not centered between the stud and the pipe. And mind you, there was BARELY room the squeeze the wall box in between the stud and pipe. BARELY. What I did was, I traced around the box on the wall and then used a drywall saw to cut out the spot and then pushed it in there. Don’t forget to pop out the hole in the back of the wall box for the wires to go through. After that, I got a wall patch kit and patched that hole next to it. UGH.

Also, I left the new light fixture uninstalled so I could paint first. So I used my husbands work light in the meantime.
The next step was so fun. I ripped up the flooring!!! I totally hated that floor. My linoleum pulled up incredibly easy. Like…I’m not sure if they used any glue or not? Are you supposed to glue that stuff down? I really have no friggin’ idea. Mine wasn’t anyway. That’s all I know. I pulled it up and exposed the subfloor. I just left it at that while I painted.
Next thing I did was get ready to paint. I use painters tape along the ceiling so that I got a nice clean edge. Pro tip: run just a thin bit of painter’s caulk along the tape line. That will really help prevent leakage.
Here’s the paint I used in my bathroom:
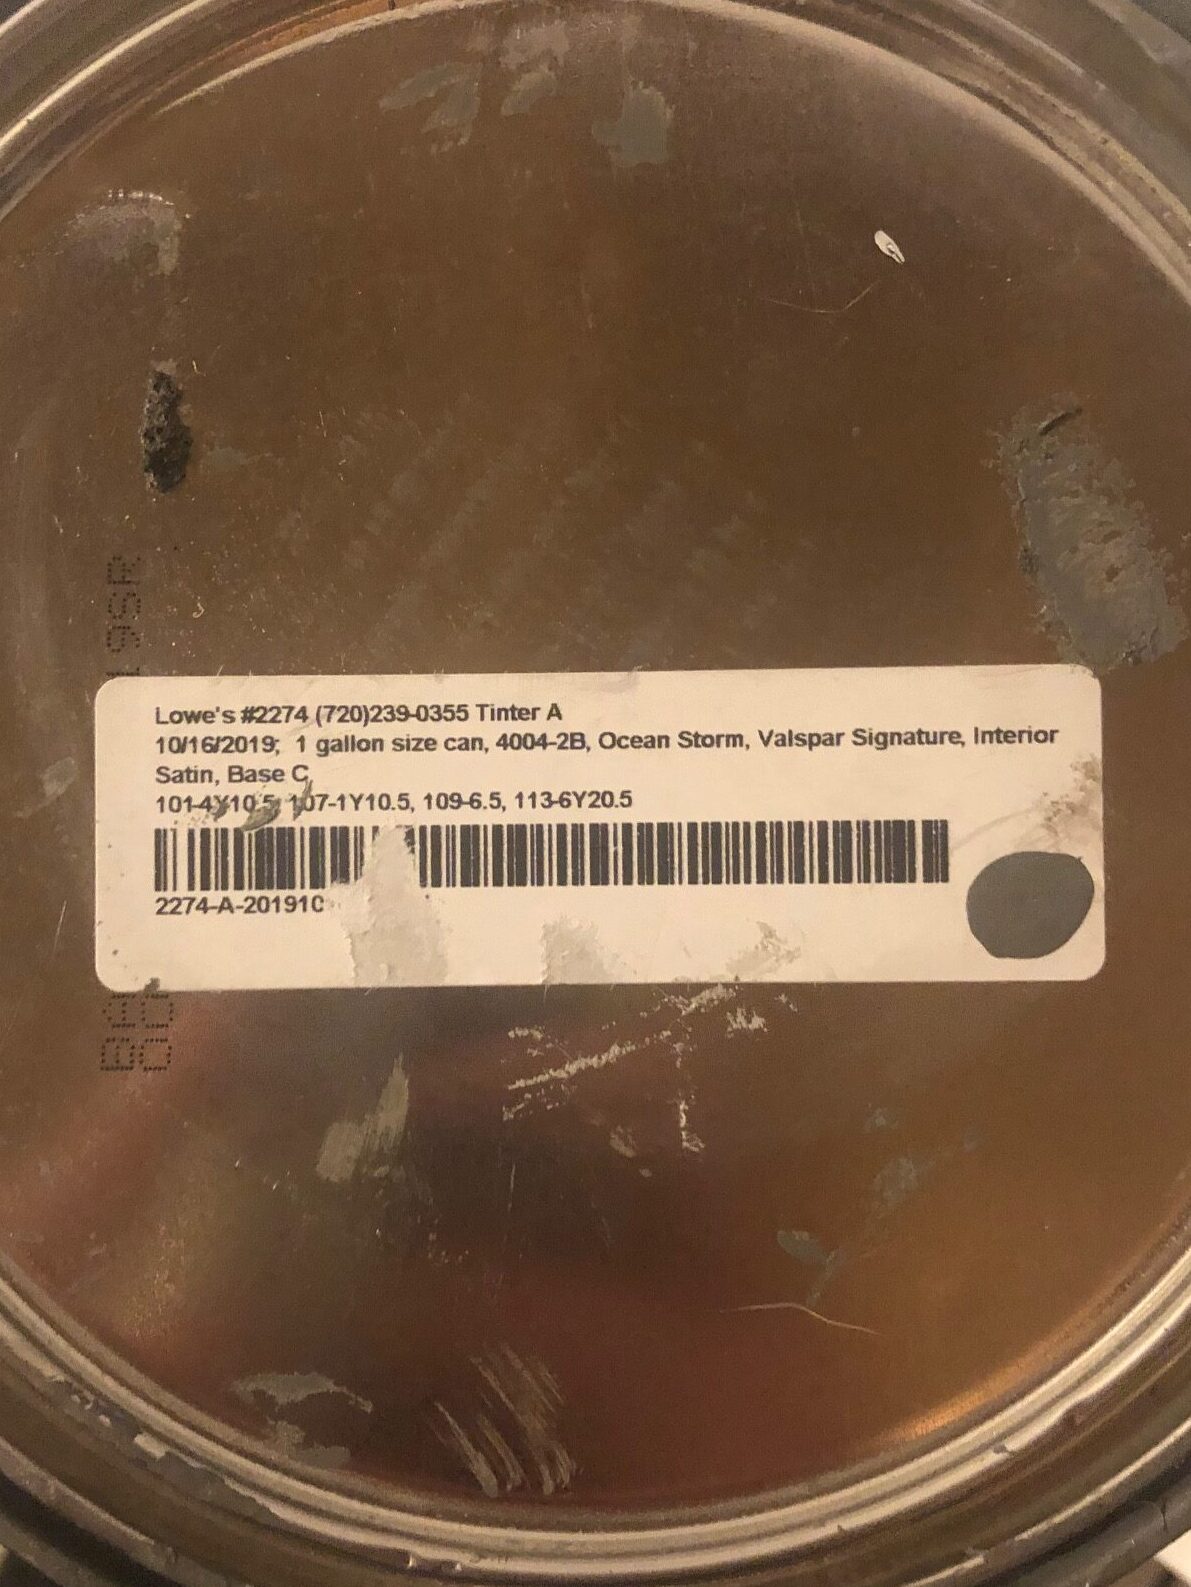
Sorry for the disgusting can lid. The color is called Ocean Storm, by Valspar signature. It’s a really beautiful deep gray color. I ended up using about two coats. Turned out awesome. I really love that color.

Then, I hung up the light. I assume most lights are pretty much the same to install. It was easy enough, just matchy matchy the wires. They’re color coded so it’s a no brainer. But just read the instructions that come with the light to make sure you’re doing it right. As I mentioned earlier, I had issues with the wall box because I couldn’t fit a round wall box in the space I had available. My light was designed to fit to a round wall box so when I installed the light it really didn’t fit quite right. But I did the best I could and hey, it’s not falling off the wall so we good.
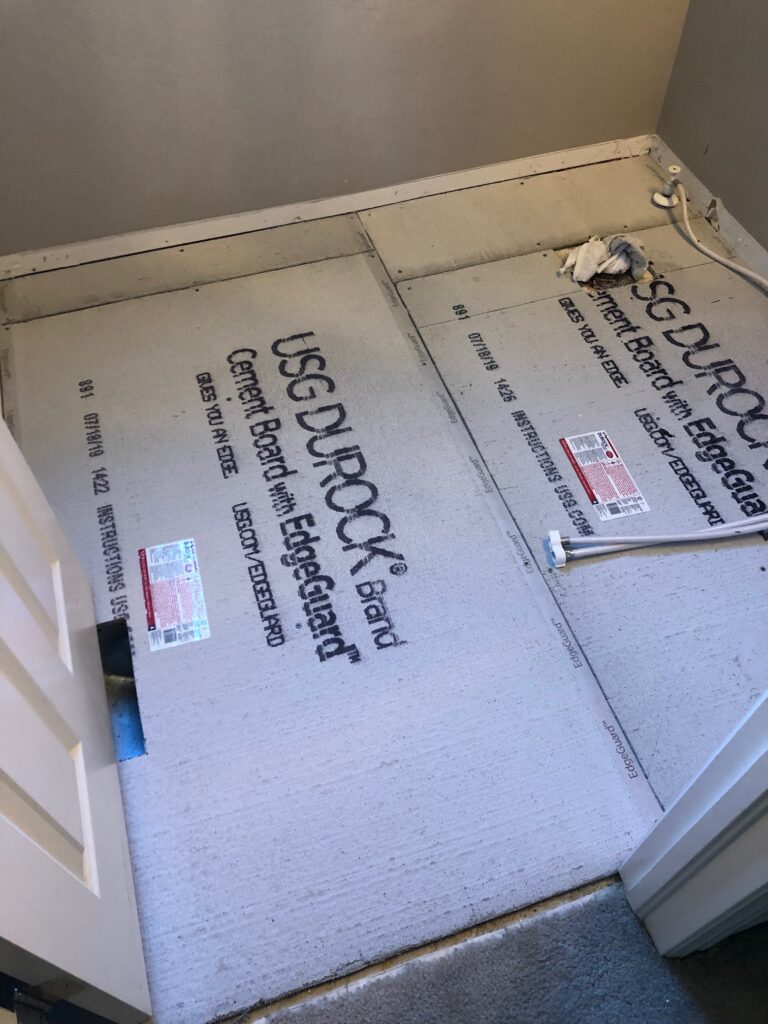
Next, I started the floor. Because I was wanting to put tile down, I had to install cement board onto the subfloor before I started to tile. I measured the bathroom to get my square footage and then bought my cement board. Some cement board you can cut using a utility knife simply by scoring it with the knife and then snap the board. But there are other types (like the kind I accidentally bought that requires some sort of oscillating tool or a saw of some kind with a carbide-tipped blade. Sigh. Anyway, make sure you measure carefully and get all your pieces set in the room nice and tight before you start screwing it down. Be sure to buy cement board screws, because I don’t know why that’s important but it is. So do it. This is how it turned out. I was so freaking proud of my cement board floor. Doesn’t it look so official?
Next was TILE!!! I’m gonna be perfectly honest, I was so nervous to do this step that I hardly took any pictures. My bad. But I’m going to list all the supplies I used:
- 1/4″ spacers
- Mapei brand thinset for large format tiles
- 1/2″ by 1/2″ square notch trowel
- Wet saw
I watched a million YouTube videos on laying tile before I did it. One of the most important things I think I did was cut and lay out all my tile before actually using any of the thinset. Once I knew all my tile fit right, I pulled it all off the floor again. I drew a straight line right down the center of the room so I’d know where to start. Always start in the center of the room so that the tile will look even. Here is my result:
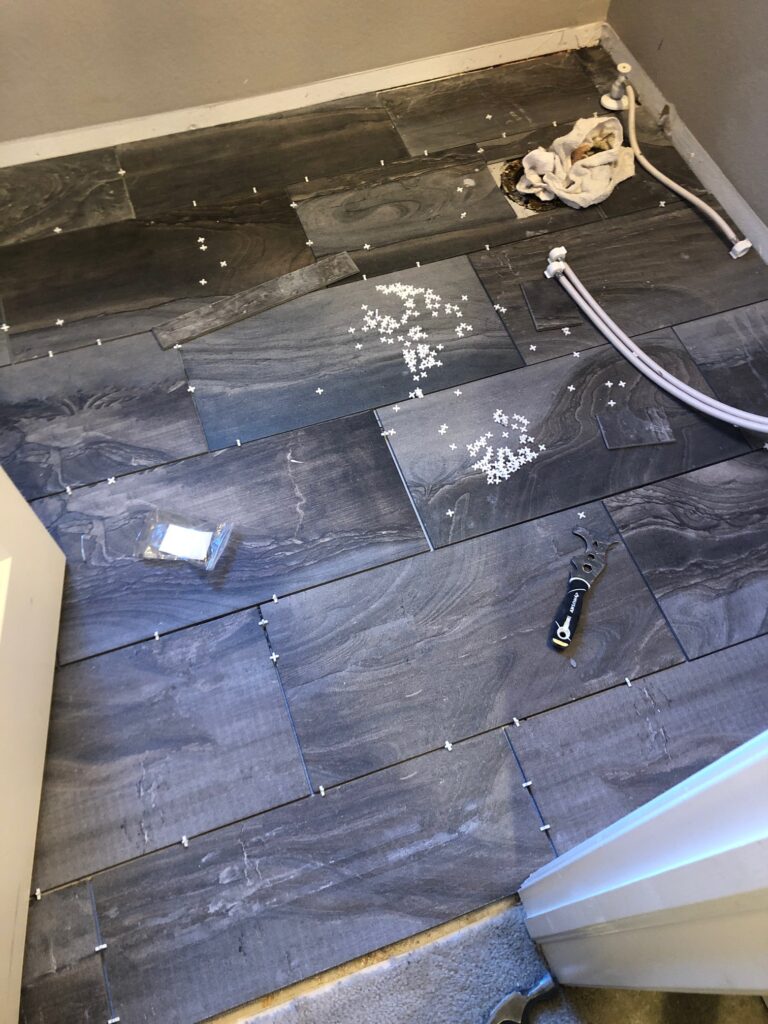
Looks pretty good, right? But side note, do you see that gap between the carpet and tile? Yeah… for some reason I thought that would end up not being a big deal. Spoiler alert. It was later. Whoops!
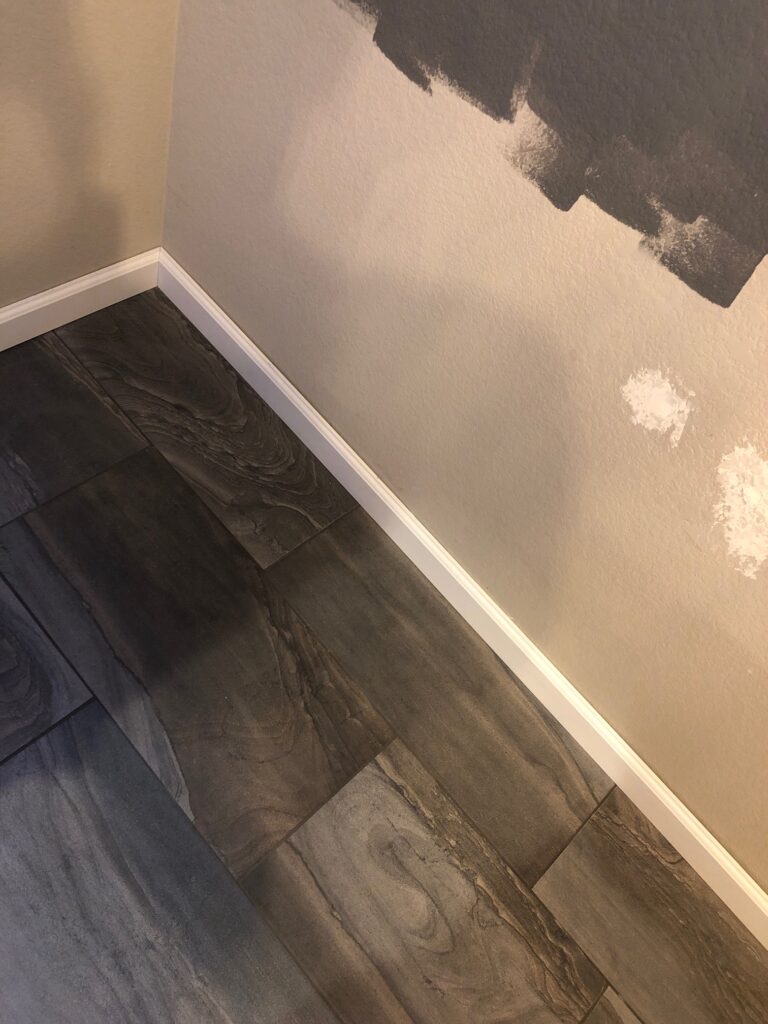
I chose a really dark grout color to go with these tiles and it turned out beautiful! So in love with these large format tiles.

This next step was the mother of all pains in the ass. The wall tile. Why did I think this was a good idea? So, I went with bright white subway tiles. I learned during this project that subway tiles usually have 1/16″ grout lines built-in so you don’t have to use spacers if you don’t want. I ended up using 1/16″ tile spacers because I wanted a bit thicker grout line. Totally your call.
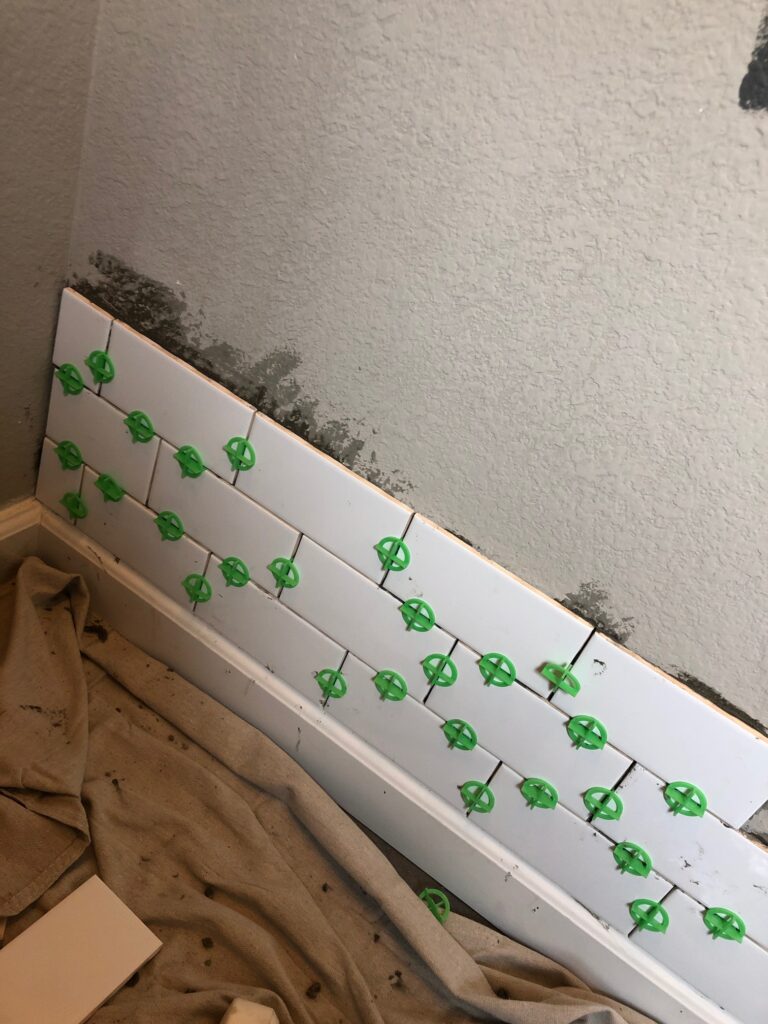
I honestly was not emotionally prepared for how fucking horrible this step would be. It was awful. So tedious. I worked on it a little bit every night and I’m pretty sure it took me about two weeks from start to finish for the wall tile ALONE. I seriously regretted this decision about half way through. Although I’d never admit that to my husband whom I talked into this project. I’m pretty new at tiling so I hate to go into too much detail as I’m such an amateur. But keep a level handy and keep checking that your tiles are straight and level. Just keep freaking checking.
So, my plan for the wall tile was to go partially up the wall. Everything I read on the internet said to choose either 1/3 of the way up or 2/3. But neither of those options felt right to me. So I just kinda went with my heart and kept tiling upward until it felt right. It’s more or less half way up the wall. So my advice to you is if you’re trying to accomplish a similar wall tile vibe, tile little by little, step back, look at it, over and over until it feels perfect.
After the wall tile was up, I grouted. Let me tell you something about grouting. It sucks. It’s fucking awful. It’s probably a less pleasant job than the tiling itself. Like, it’s messy and awkward and just plain terrible. I ended up leaving the grout on the tile for only about half the recommended time before wiping it off. I’m not sure if that’s because Colorado has such a dry climate or what – but I would just keep an eye on it as you go and make sure you don’t let it sit too long before you wipe it off. If you do, (which I did in a few places in the bathroom), it’s a gigantic pain in the ass to chisel it off. Seriously. Don’t do it.
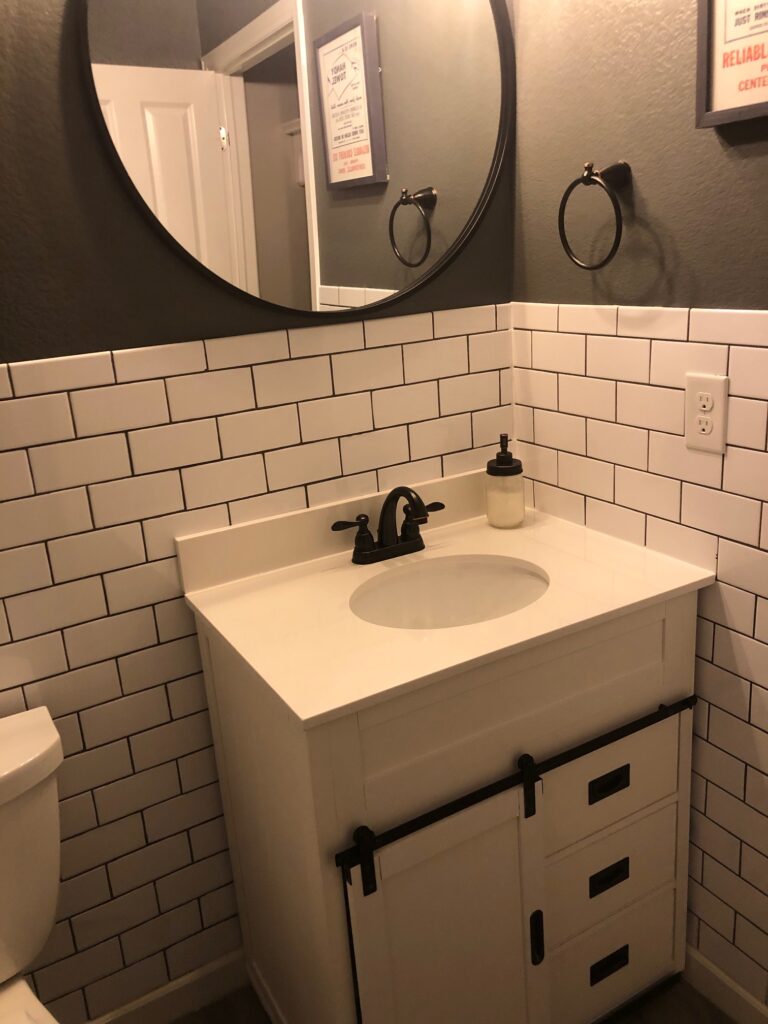
After all of that was done, I had my husband install the vanity and toilet because I was quite frankly emotionally depleted by that point. So I passed the baton to him. Then cried when he told me that the toilet didn’t fit because the builders messed up the flange. WHY. But he fixed it. Thank GOD because I was totally going to have a mental break down.
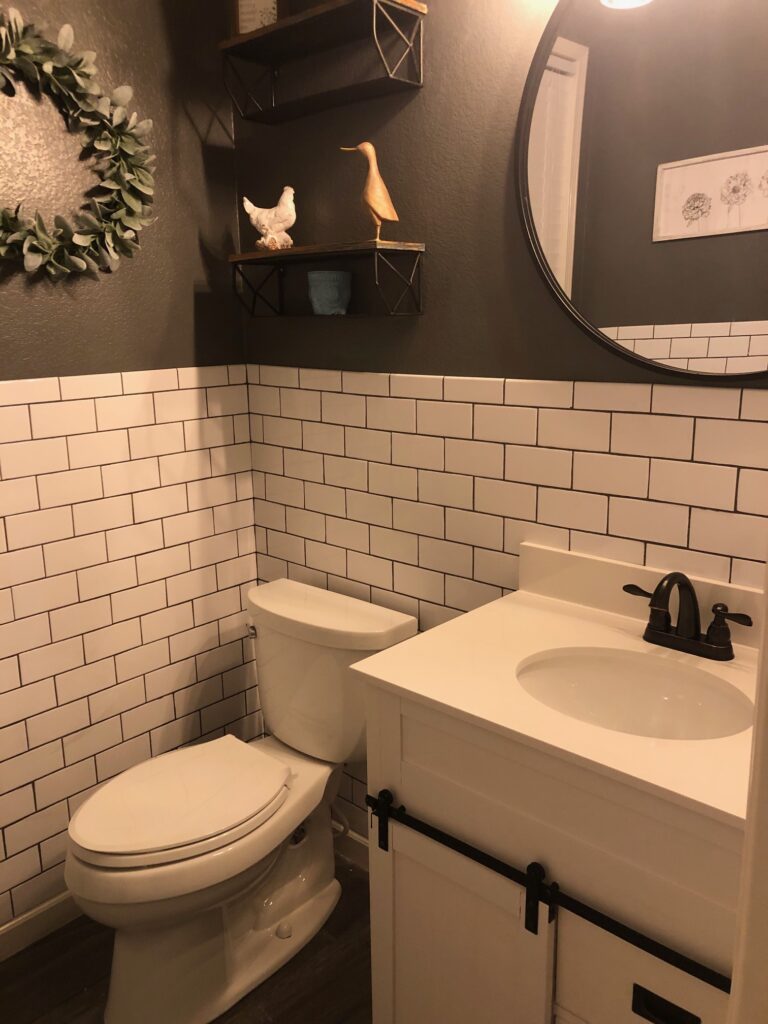
And after all that hard work, here’s the finished product! What do you think?!